

Basic Sketchup know how (obviously)
Export your Lift using Construction Kit
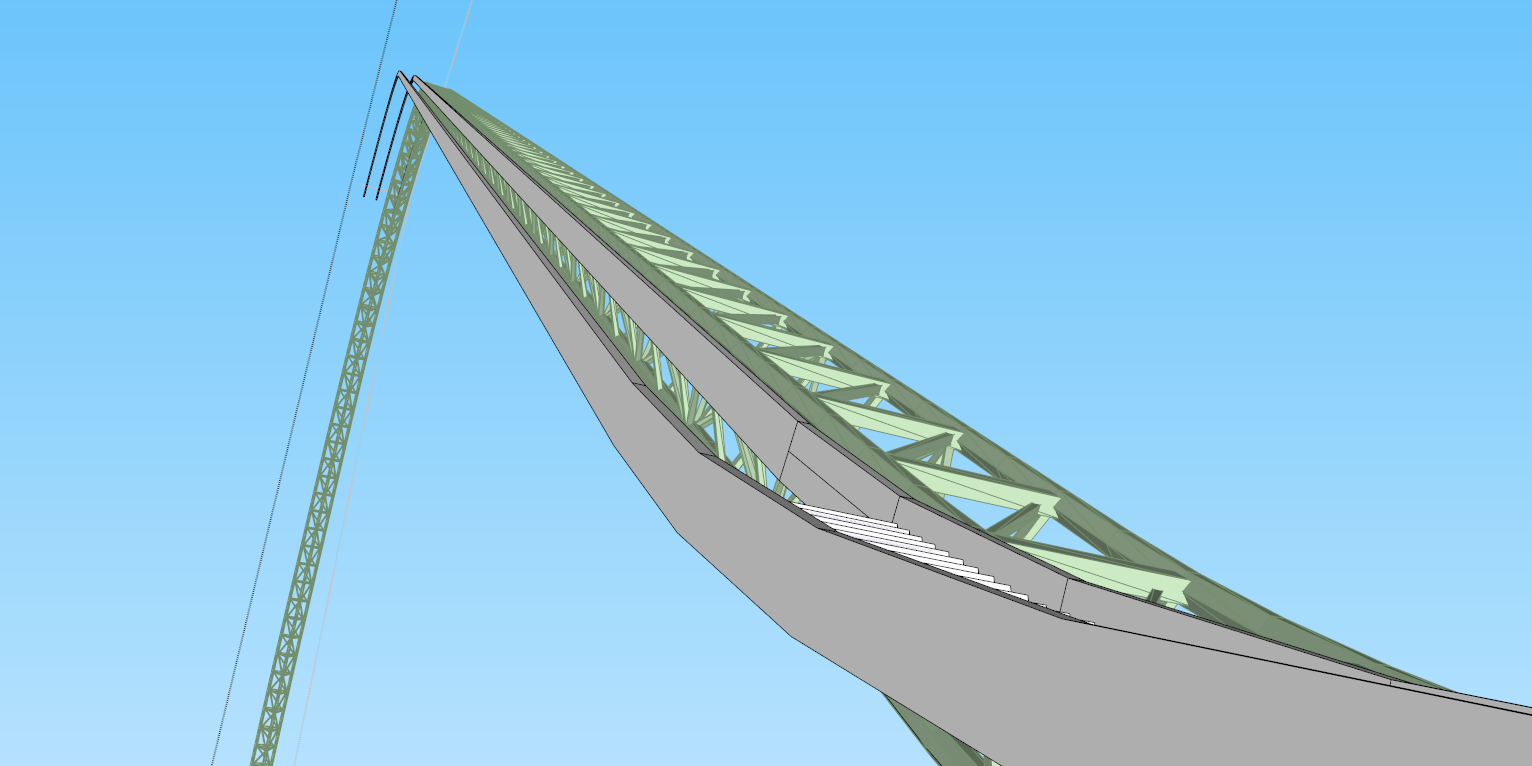
When importing your lift, It's a good idea to have on the same axis as Sketchups X-Axis! (Green) Not doing so will make things confusing and difficult for you.
I also recommend using the texture I use here: http://s113.photobucket.com/albums/n230 ... ction=view?????????t=GRID1_zps4a158336.png
(Sketchup Material version coming SOON! Check first reply for updates!)
After constant experimenting with sketchup I think I've found the best way to make catwalks with transparent grid textures. Everyone knows that when you only have 1 face from sketchup and you apply the ambient color fix the sides will disappear in the Simulator when viewing it at a certain angle....To avoid that I created a method that has two faces on top of each other where the "white" and "dark" sides face opposite.
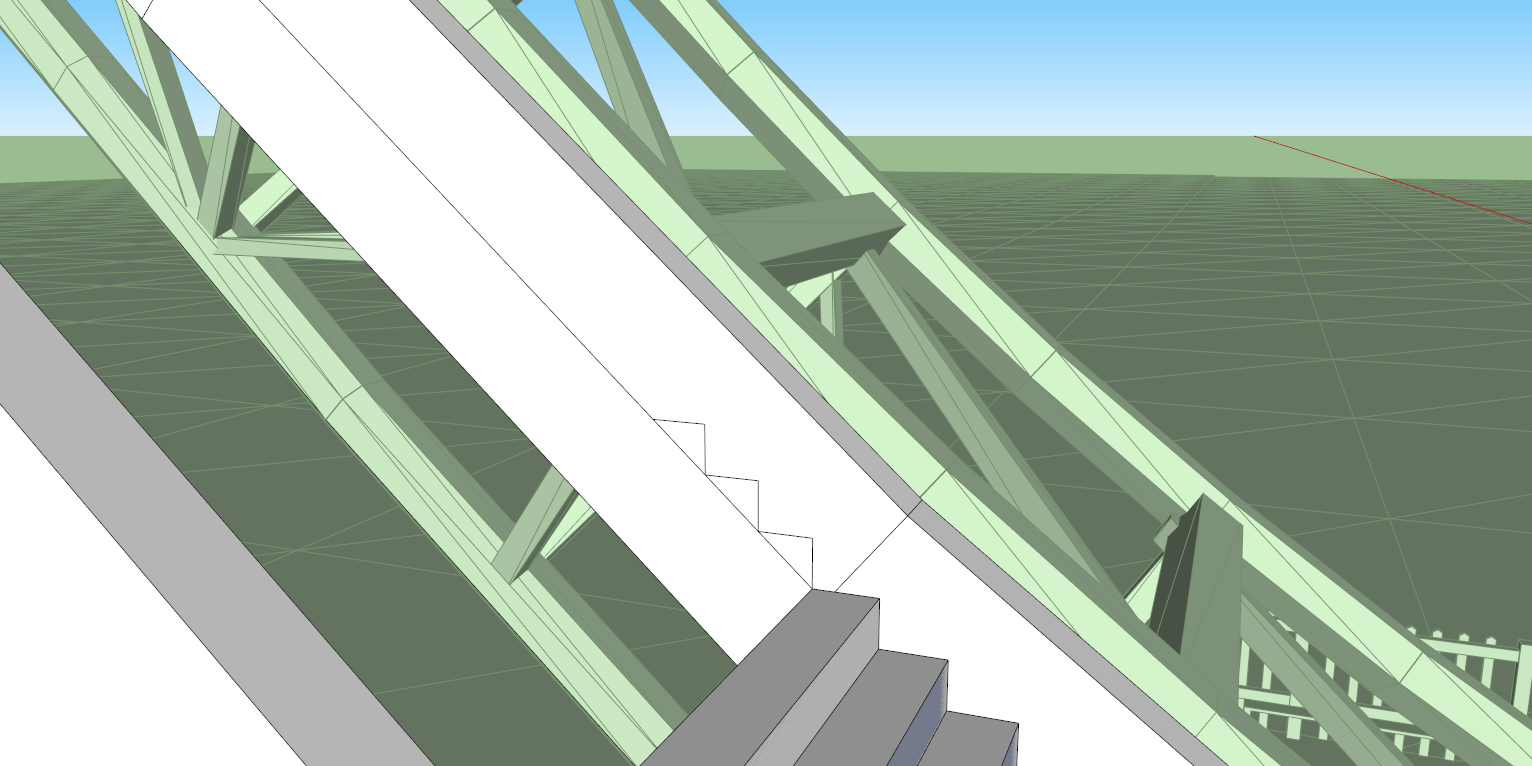
Step one: Create your two sides for the stairs...How I do it is create a small box in whatever dimensions you prefer. Draw a line along the track, and then use the follow me tool to make that box stretch along that line you created. (BE SURE USE MONOCHROME VIEW! THE FACES MUST BE WHITE!!!)
To make things easier makes these sides groups so that when we create the stairs you can use "Select all connected". Instead of creating two by hand, I recommend copying the group and placing it next to the other like I did here to make them quicker and more accurately.
Additionally, you will notice that every time the curve changes there's a line going from top to bottom, this is necessary for this tutorial and the follow me tool will not create them automatically....simply connect the endpoint at the top and bottom. DO NOT snap to the blue (Y Axis)

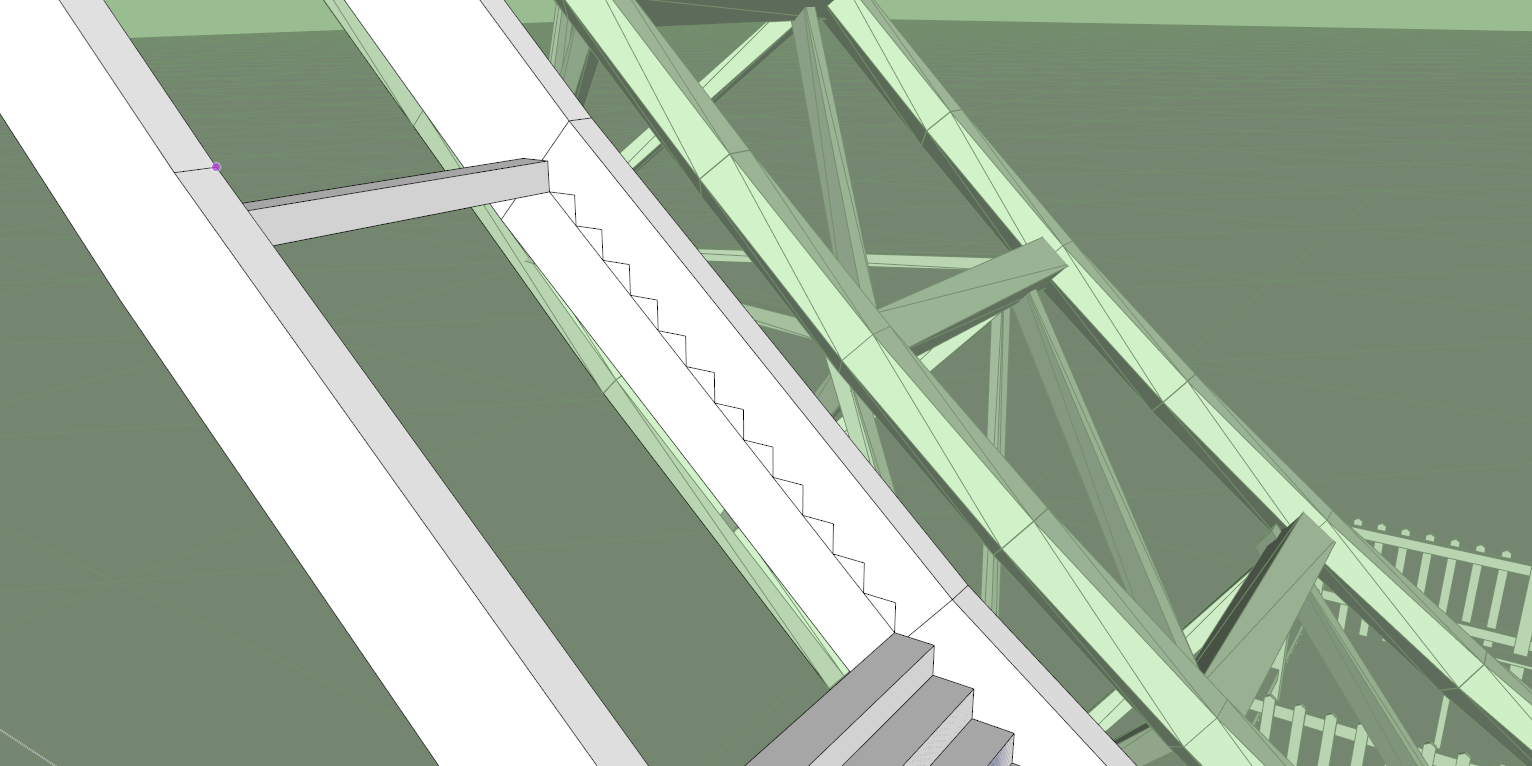
Step two: This isn't the best screenshot but draw a line from the midpoint to the next midpoint. Yes, you need to do this in sections like I did. In my case, the last stair didn't end exactly at the endpoint so in this case I will go from the top of that stair to the midpoint. You can see I already drew my first step in my model I went 0.05 meters up and then intersected the diagonal line I drew before.
Step three: Start drawing the steps. Now for this each stair must be the same size. Draw a straight line on the Y-Axis and then snap to the green (X-axis) and draw to the intersection of the diagonal line you drew earlier. Keep repeating until you reach the next section.

Like I mentioned earlier, your stairs won't meet the next section perfectly....it's an easy fix.

Step four: Okay, that last step's a doozy. Simply draw a parallel line as shown and continue to draw your next stair from that line. REMEMBER: The vertical line must be the same as all the others!

Now you should have that. You can delete those extra lines sticking out.
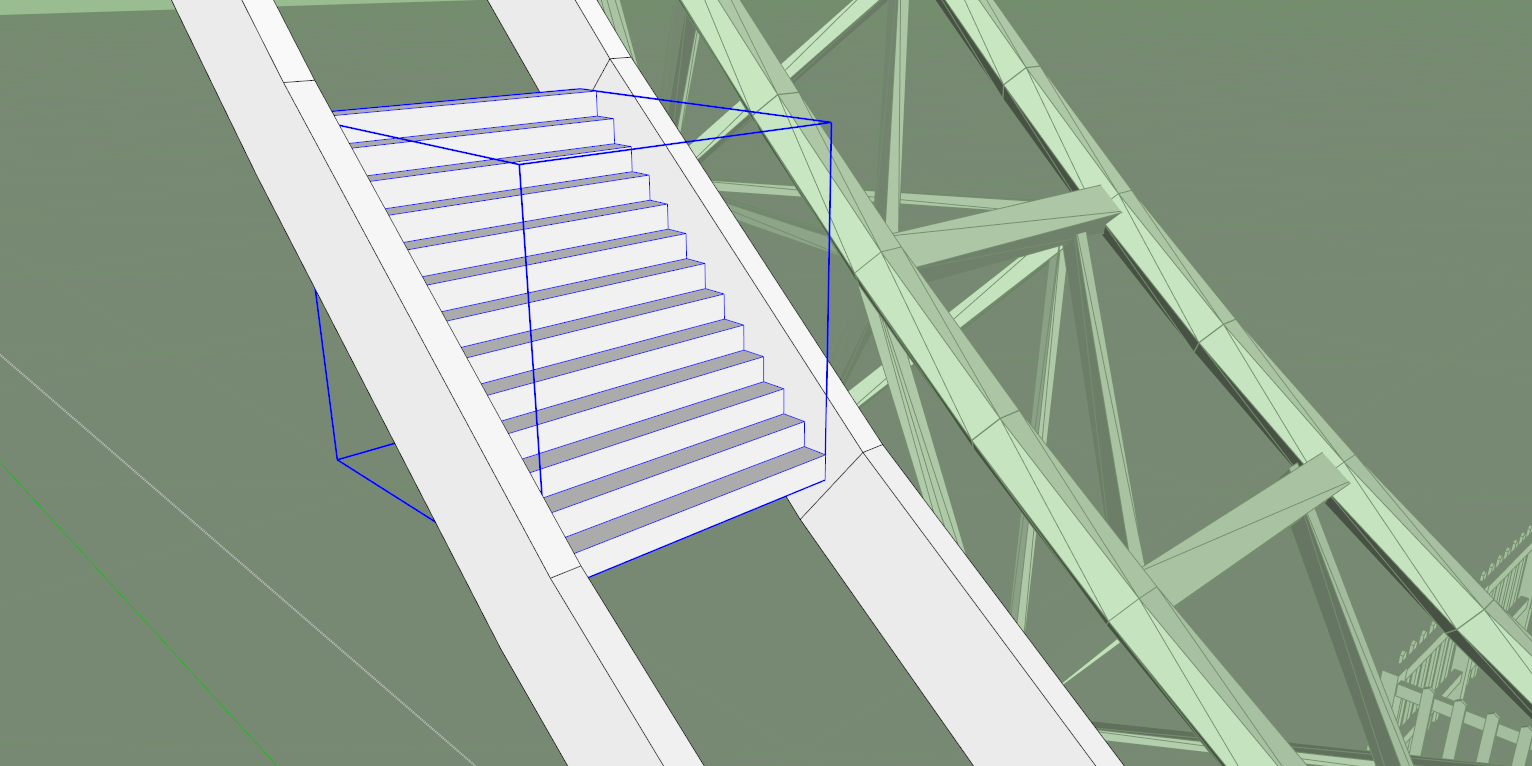
Now that you've drawn all of the stairs, it should look like this:
Step Five: Use the Push/Pull tool to pull the stairs to the other side.
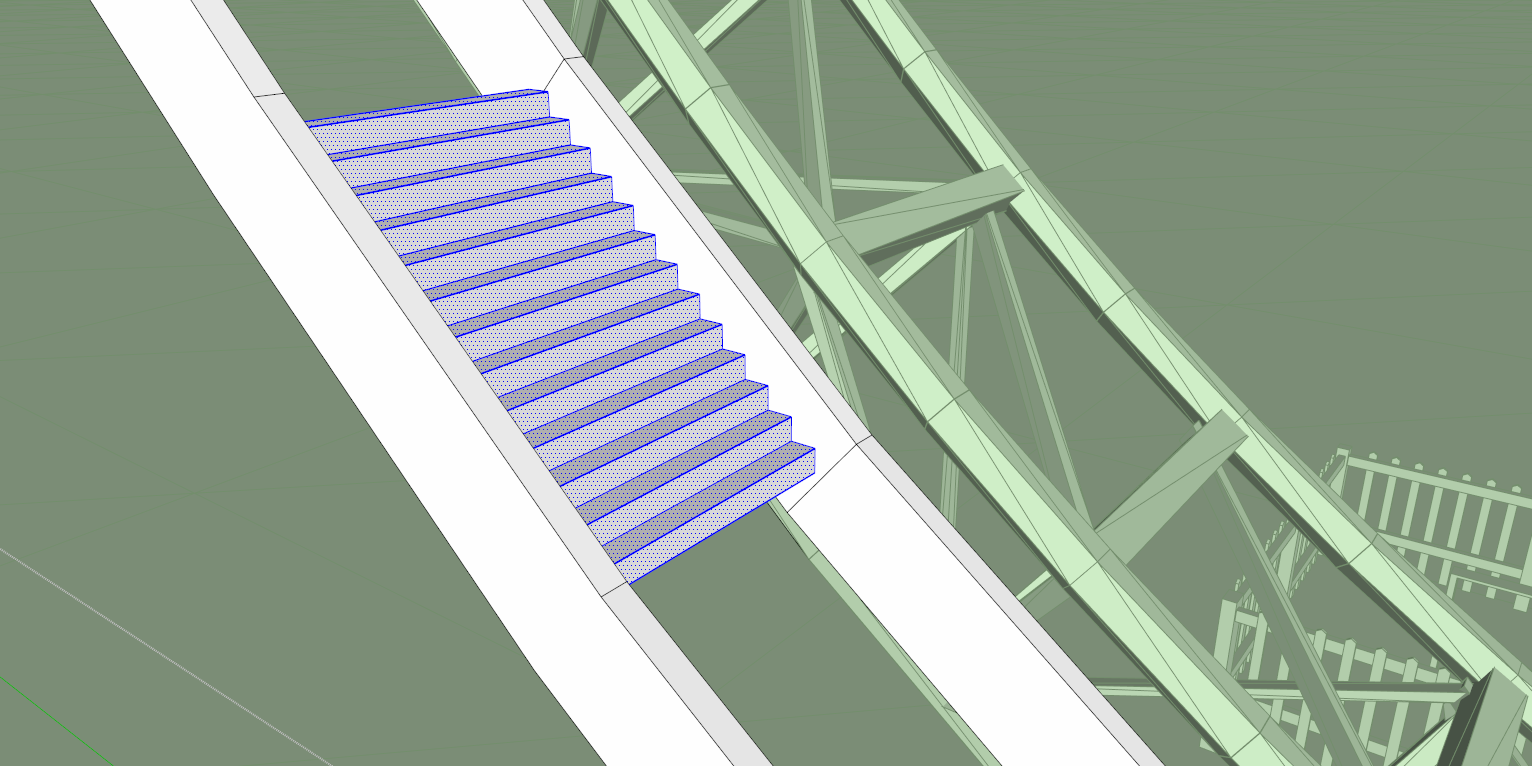
click any of those faces and then right click and "Select>All Connected" This is why I said to use GROUPS because selecting all will not select anything else except the stairs!
Step Six: Make those stairs a group. "Right-Click>Make Group" while they are all selected. Also make sure that you Paint your desired texture or the grid one I provided. I highly recommend do this before moving on because selecting the group for painting later might be more difficult since they will be positioned in the same spot. (Mine only appear white and dark because I'm working in Monochrome view.) I do recommend switching from monochrome to view from time to time so that you can see everything is working like it is in this tutorial.
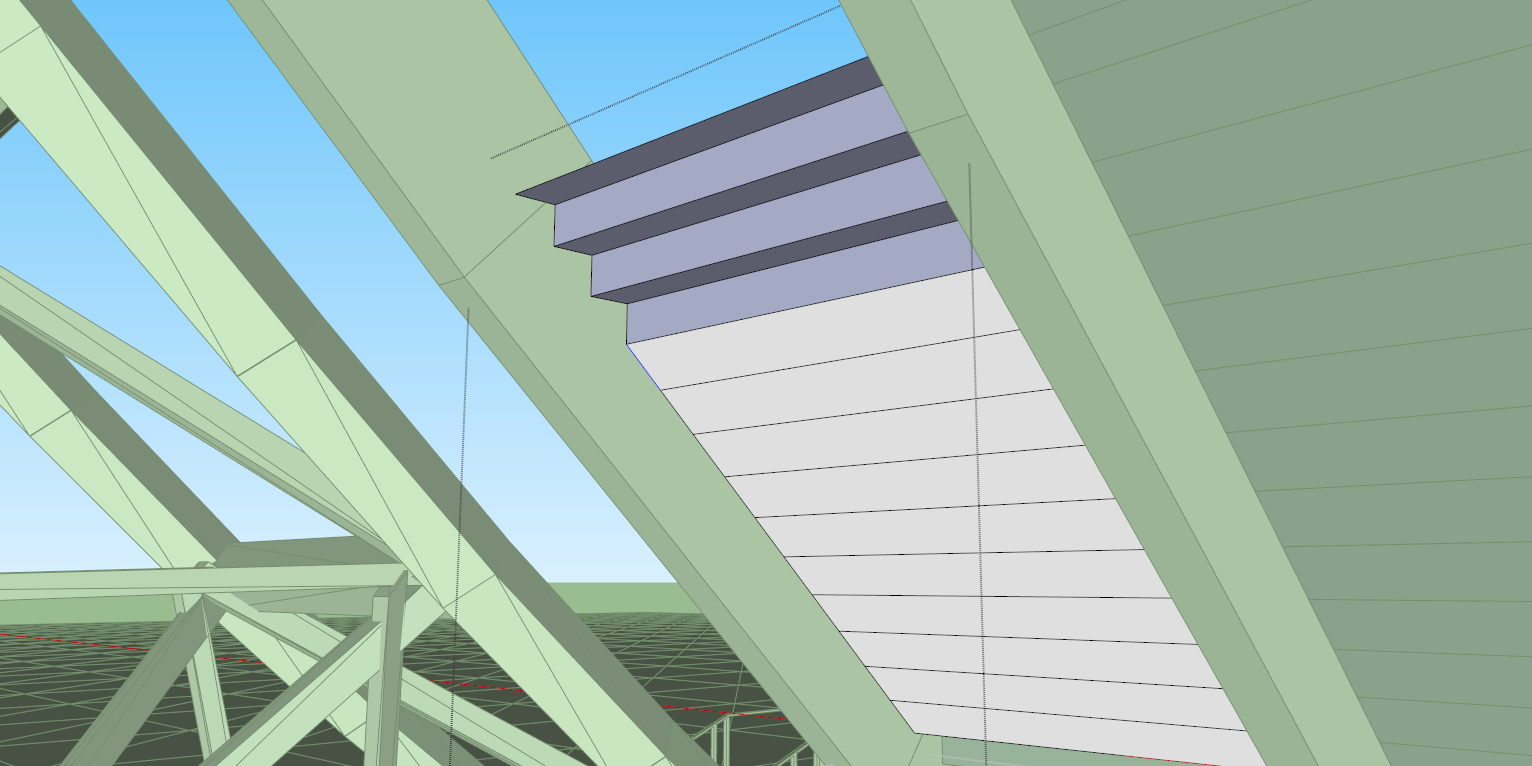
Step Seven: Open the group and Delete unnecessary crap on the bottom so that you only get the stairs steps (Yes they only have ONE SIDE, they do not have depth and they're not supposed to.
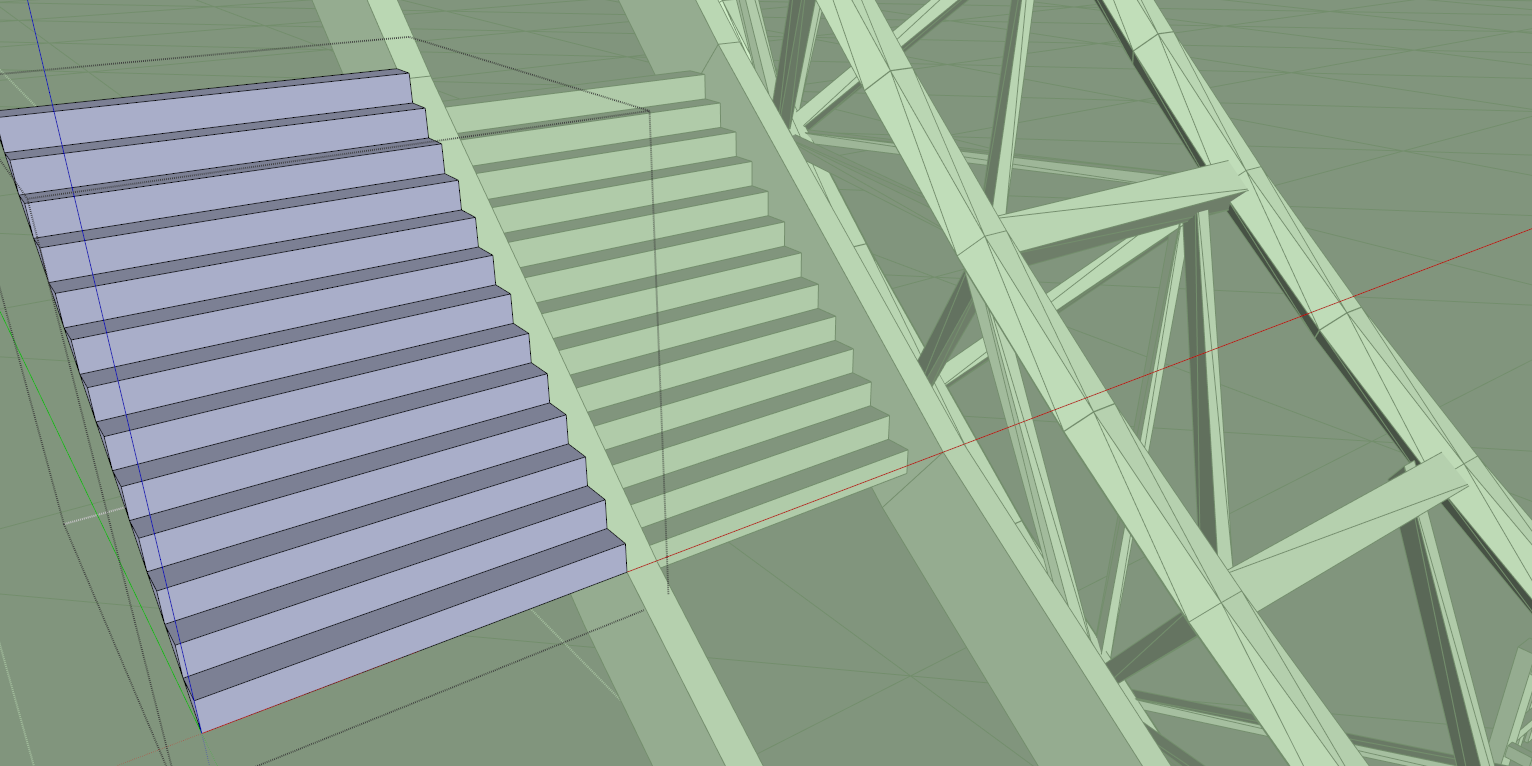
Step Eight: Copy that group an place it anywhere.
Open that group and Select All Connected again. Now you want to Right-Click and "Reverse Faces" so that it looks dark.
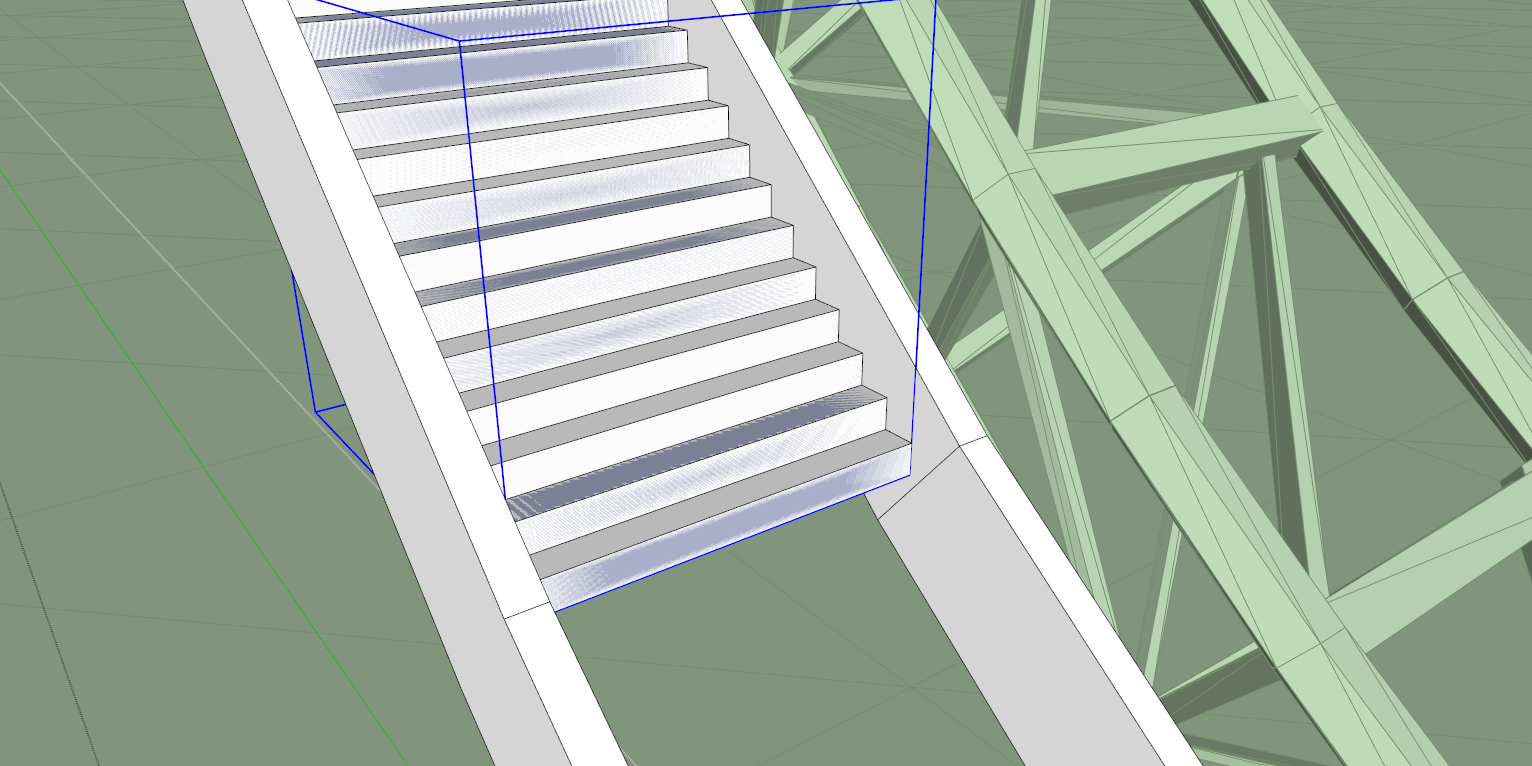
Step Nine: Move that group with dark faces directly on top of the other one so that they are in the exact same position.
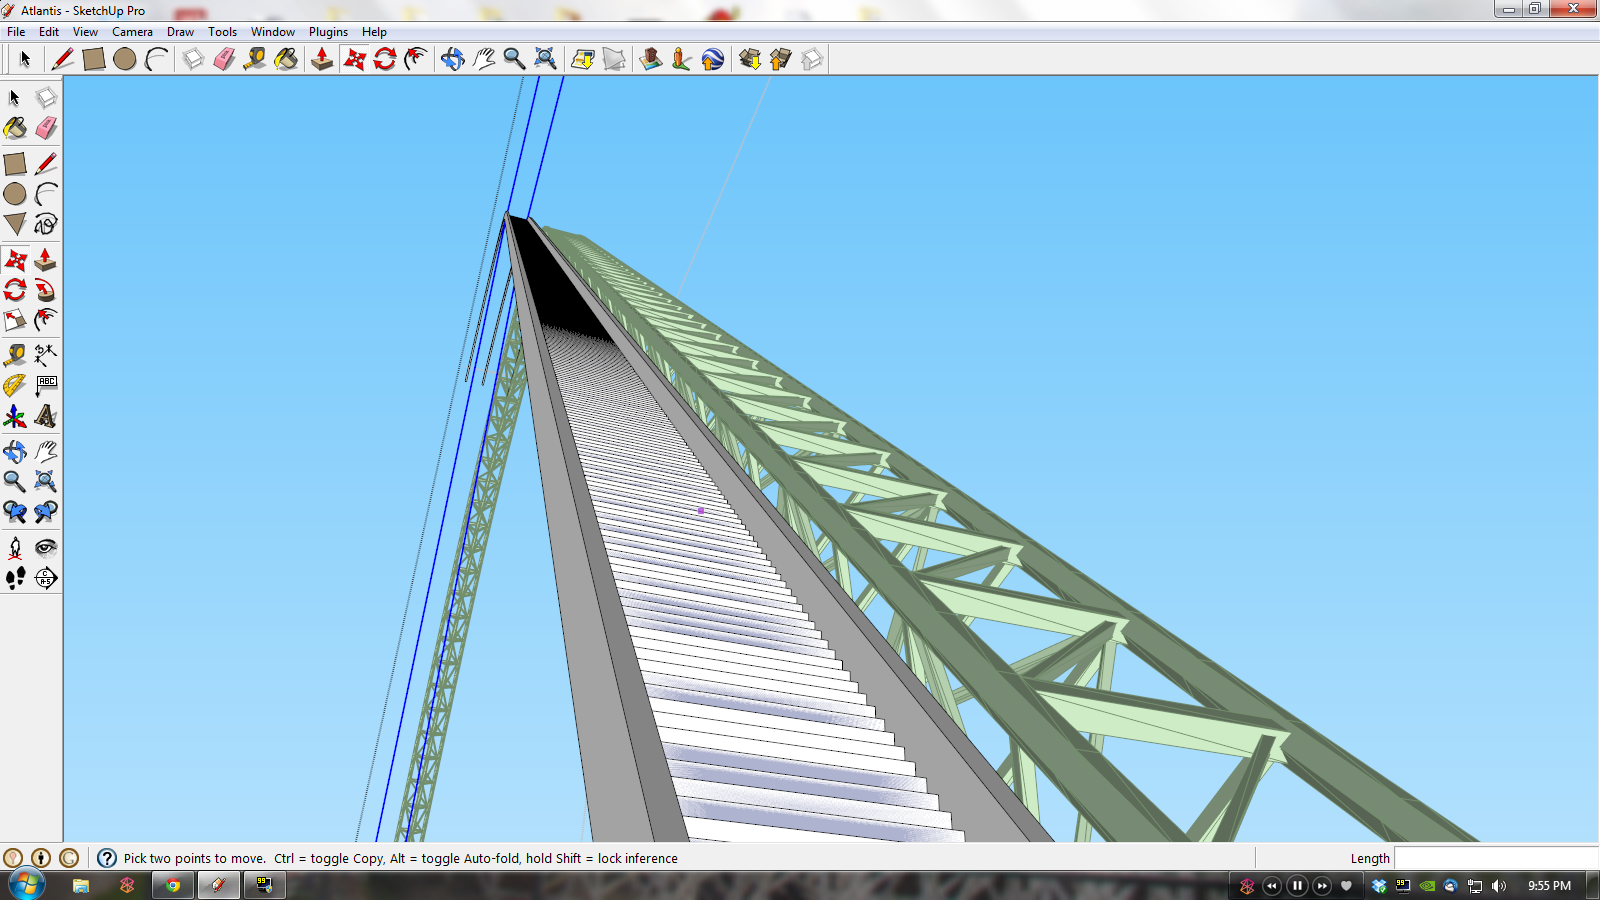
Keep doing this for every section and you're end result should look like this:
SHORTUCTS/TIPS:
1)When drawing the stairs the straight part of the lift could have up to thousands of stairs so to make this more simple you can create one stair and select those two faces that make up that step and it's bounding edges. Be warned you can only use this shortcut per section because the length of the stair will vary. Since I told you earlier that the height of each step must be the same, no matter how many times you copy it, it will still intersect that diagonal line.
So as I was saying, select those two faces and it's bounding edges, now use the Move Tool....press ctrl on your keyboard and you will see a "+" appear next the move icon. Now click the bottom of that step and place it on the top of that same step so it makes another step in the stairs. Make sure that the step you copied still meets the diagonal line! If it does you can multiply that copy by pressing "x" and a number. For that Final image I showed I copied it 750 times. This will slow down you computer for a minute so be patient. Once your done with that and you are at least close to the next section at the top of the lift, you can draw the rest as shown in the steps above. From there select these hundreds of steps by holding ctrl....You don't need to select one at a time, you can click and drag from an open space to get them faster, but make sure you deselect anything you don't want to group.
2) PLEASE, PLEASE MAKE SURE YOU SAVE YOUR WORK OFTEN! ESPECIALLY WHEN COPYING LARGE AMOUNTS OF OBJECTS.
3) Always make these catwalks a separate component so that nothing else interferes.